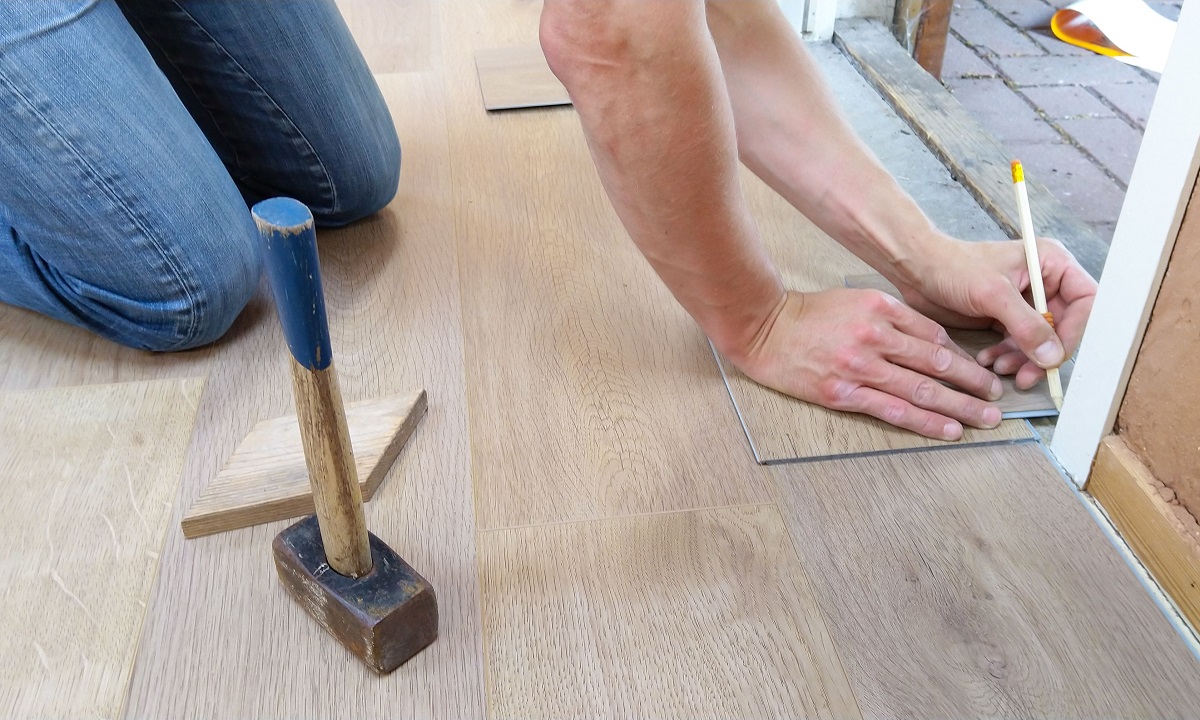
Highlights:
- Prep the subfloor thoroughly. Vinyl is thin and shows every bump, crack, and speck of debris, so clean, level, and dry the surface before laying anything.
- Let the flooring acclimate. Leave the unopened planks or tiles in the room for at least 48 hours so they adjust to the temperature and humidity and don’t warp later.
- Choose the right type for your space. Click-lock suits most beginners, peel-and-stick works well for small rooms and tight budgets, and sheet vinyl is ideal for wet areas.
- Leave an expansion gap. Keep about a quarter inch of space around the perimeter so a floating floor can expand and contract without buckling.
- Plan your layout and stagger the seams. Do a dry run, avoid thin sliver rows at the end, and offset end joints by at least six inches for a natural, sturdy look.
- Buy 10 to 15 percent extra. The extra material covers cuts, mistakes, and future repairs, and it saves you a second trip to the store.
- Keep up with simple maintenance. Sweep regularly, use a pH-neutral cleaner, skip steam mops, and add felt pads and entry mats to protect the surface.
Tired floors can drag down an entire room. Maybe you have scuffed laminate, dated carpet, or cracked tile that no amount of scrubbing can rescue. Replacing it sounds like a huge, expensive project, but it doesn’t have to be. Vinyl flooring is one of the most beginner-friendly materials out there, and with a free weekend and a little patience, you can transform a room without hiring a contractor.
In this guide, we’ll walk through everything you need to know to install vinyl flooring yourself. We’ll cover choosing the right type, gathering your tools, prepping your subfloor, laying the planks or tiles, and finishing the job with clean trim. By the end, you’ll have the confidence to tackle your own floor and the know-how to avoid the mistakes that trip up first-timers.
Why Vinyl Flooring Is Worth Considering
Vinyl has come a long way from the flat, shiny sheets your grandparents might remember. Today’s products mimic hardwood, stone, and ceramic so convincingly that many guests will have to kneel down and touch the floor to believe it’s not the real thing. Better still, vinyl is water-resistant, durable, and comfortable underfoot, which makes it a smart choice for kitchens, bathrooms, basements, and busy family rooms.
It also ranks high among the practical home improvement solutions for modern properties, because it handles foot traffic, spills, and pets without demanding constant upkeep. Here’s why so many homeowners are choosing it:
- It resists moisture, so it works in rooms where hardwood would struggle.
- It’s softer and warmer than tile or stone.
- It comes in hundreds of colors, patterns, and textures.
- Many styles are designed for DIY installation with no special equipment.
- It’s generally more affordable than natural materials.
If you want a big visual upgrade without a big headache, vinyl checks nearly every box.
Understanding Your Vinyl Options
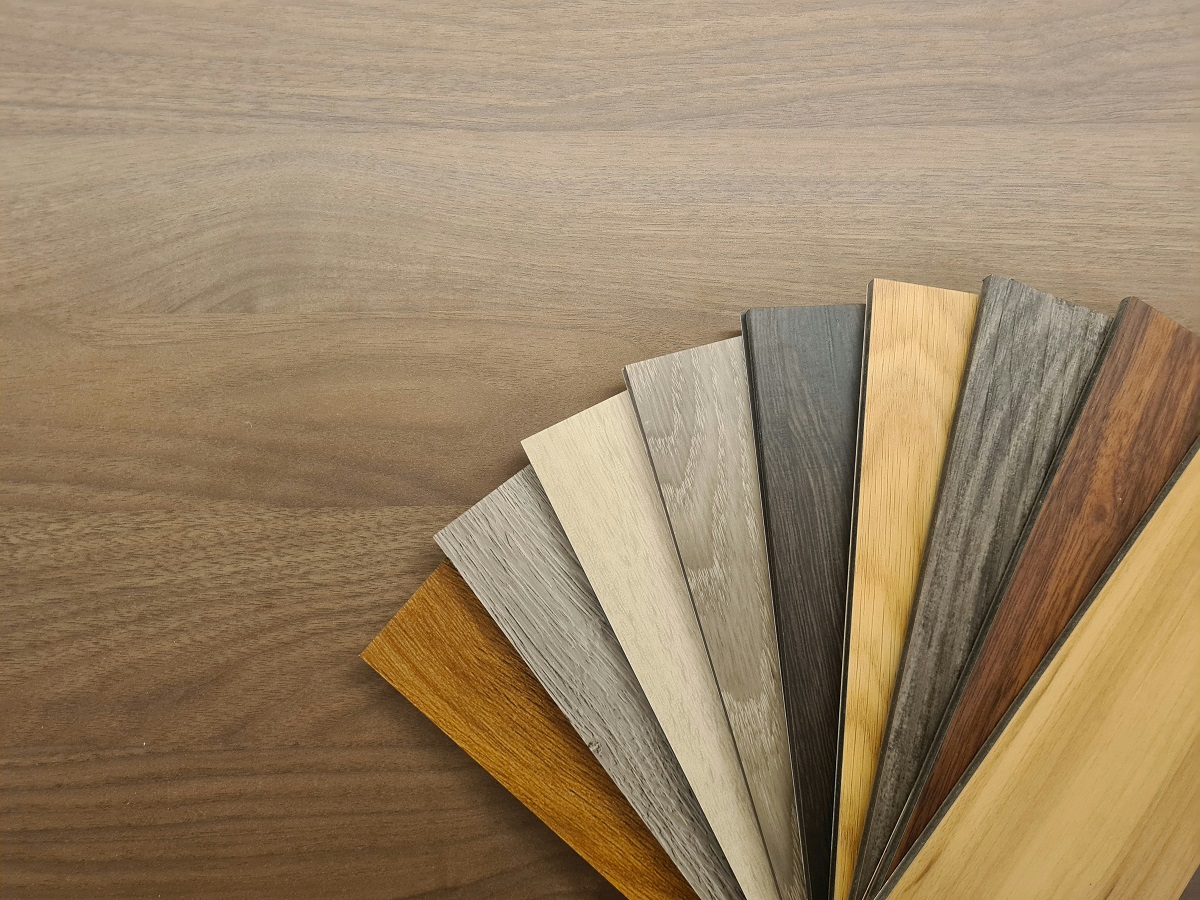
Before you buy anything, it helps to know the main types of vinyl flooring, since each installs a little differently.
Luxury vinyl plank, often shortened to LVP, comes in long, narrow boards that look like hardwood. Luxury vinyl tile, or LVT, comes in squares or rectangles that resemble stone or ceramic. Both are available in click-lock versions, where pieces snap together, and glue-down or peel-and-stick versions, where each piece sticks to the subfloor.
Sheet vinyl is the third option. It arrives in large rolls and covers a whole room with minimal seams, which makes it great for bathrooms and laundry rooms. It’s trickier to cut and fit, though, so beginners often prefer planks or tiles.
Here’s a quick way to think about your choice:
- Click-lock planks or tiles: Best for beginners, floating installation, and uneven-ish subfloors.
- Peel-and-stick tiles: Best for small spaces, tight budgets, and quick updates.
- Glue-down planks: Best for high-traffic areas where you want a very stable floor.
- Sheet vinyl: Best for wet rooms where you want as few seams as possible.
Also check the wear layer, which is the clear protective coating on top. A thicker wear layer, typically 12 mil or higher for residential use, means better scratch and scuff resistance. If you have dogs, kids, or both, spending a little extra here pays off.
Tools and Materials You Will Need
One reason vinyl is so approachable is that the toolkit is short. Gather everything before you begin so you’re not running to the hardware store halfway through.
- Measuring tape and pencil
- Utility knife with extra blades
- Straightedge or carpenter’s square
- Rubber mallet and tapping block
- Pull bar for tight spots along walls
- Spacers, roughly one-quarter inch thick
- Floor scraper and broom
- Vacuum
- Floor leveling compound, if needed
- Underlayment, if your planks don’t have it attached
- Knee pads, which you’ll thank yourself for later
- Safety glasses and gloves
Don’t forget to buy extra flooring. A good rule is to add 10 percent to your measured square footage to cover cuts, mistakes, and oddly shaped corners. If your layout includes lots of angles or a diagonal pattern, bump that up to 15 percent. It’s also smart to keep a few leftover planks for future repairs, since dye lots can vary from batch to batch.
Preparing Your Space Before You Start
Good prep makes the actual installation feel almost easy. Start by clearing the room completely. Move out furniture, rugs, and anything else that could get in your way. If you have appliances like a refrigerator or washer, you may need a second pair of hands to shift them safely.
Next, remove the baseboards or shoe molding. Use a pry bar and a thin piece of wood to protect the wall, and label each piece on the back with a pencil so you can put them back in the same spots. If you plan to reinstall the trim, work slowly to avoid cracking it.
Then, let your vinyl acclimate. Unbox the flooring and leave it in the room for at least 48 hours so it can adjust to the temperature and humidity. This step is easy to skip, and skipping it is a common reason planks shrink, expand, or buckle later. Keep the room between roughly 65 and 85 degrees Fahrenheit during this time.
Finally, take a moment to trim the bottom of door casings. Slide a plank on its side against the casing and cut it with a flush-cut saw so the new floor can tuck underneath. This gives you a cleaner finish than trying to cut the vinyl to wrap around the frame.
Getting the Subfloor Ready
Your new floor is only as good as the surface beneath it. Vinyl is thin and can telegraph every bump, crack, and crumb, so take this step seriously.
Start by removing any old flooring you can’t install over. Carpet, padding, and tack strips need to go. Existing vinyl or tile can sometimes stay, provided it’s firmly attached and smooth. If you’re working with concrete, check for moisture by taping a square of plastic wrap to the slab for a day or two. Condensation underneath suggests moisture problems that need fixing first.
Once the old material is gone, check the surface for flatness. Most manufacturers want the subfloor flat within about one-eighth of an inch over a six-foot span. Here’s how to handle common problems:
- Low spots and cracks: Fill them with floor leveling compound and let it cure fully.
- High spots: Sand wood subfloors or grind down concrete bumps.
- Loose boards: Screw them down to stop squeaks and movement.
- Debris and dust: Sweep, then vacuum thoroughly.
If you’re laying vinyl over a concrete slab or any surface that might hold moisture, consider adding a vapor barrier or underlayment. Read the manufacturer’s instructions, since some planks already include padding and doubling up can void the warranty.
Planning Your Layout Like a Pro
A few minutes of planning can save you from an awkward, lopsided floor. Begin by measuring the room’s length and width, then figure out which direction your planks will run. Running them parallel to the longest wall, or toward the main light source, usually looks best and makes the room feel larger.
Next, find the center of the room and do a dry run. Lay a few rows without locking or sticking them to see how the last row will fit. The goal is to avoid ending with a sliver of plank, which looks sloppy and can be unstable. If your last row would be less than about two inches wide, adjust your starting row so you cut both the first and last rows to a more balanced width.
Also plan to stagger your seams. Offset the end joints in each row by at least six inches, and ideally more, so the floor looks natural and stays strong. Mix planks from several boxes as you go, since slight color variation between boxes is normal. Shuffling them creates a more realistic, blended look.
Installing Click-Lock Vinyl Planks Step by Step
Click-lock is the most popular DIY method, and for good reason. There’s no glue and no mess. The floor simply floats over the subfloor. Here’s how it goes.
- Set your starting line. Choose the longest, straightest wall and place spacers along it. Expansion gaps of about one-quarter inch around the entire perimeter are essential, because vinyl expands and contracts with temperature.
- Lay the first plank. Place it in the corner with the tongue side facing the wall, or follow your manufacturer’s directions. Keep it snug against your spacers.
- Connect the short ends. Angle the next plank slightly and press it into the end of the first until it clicks. Repeat until you reach the opposite wall.
- Cut the last plank. Measure the remaining gap, subtract the expansion space, and score the plank with a utility knife. Snap it along the line, then cut through the backing.
- Start the second row. Use the leftover piece from the first row if it’s at least six inches long. This keeps the seams staggered and reduces waste.
- Lock the long edges. Angle the plank into the row beside it, then lower it flat. You should hear a click. Tap gently with the mallet and tapping block to close any gaps.
- Continue row by row. Check regularly that your lines are straight and the joints are tight.
Around obstacles like pipes or vents, trace the shape onto a plank, cut out the opening with a utility knife or jigsaw, and leave a little extra gap. A pull bar will help you tap the last row into place where a mallet won’t fit.
Installing Peel-and-Stick Vinyl Tiles
If you’ve chosen peel-and-stick tiles, the process is a bit different but just as manageable. Because these stick directly to the subfloor, surface prep matters even more. The floor must be clean, dry, and smooth, since any dust or bump will show through or weaken the bond.
Start by snapping chalk lines to mark the center of the room both ways. This creates four quadrants and gives you a reliable guide so your pattern stays square. Peel the backing off the first tile and place it right at the center intersection, lining up the edges with your chalk lines. Press down firmly.
Work outward in a pyramid pattern, laying tiles one at a time and butting each edge tightly against its neighbor. Don’t slide tiles into place once they touch the adhesive. Lower them straight down for the best grip. When you reach the walls, measure each tile carefully, score it with a utility knife, and snap it along the line.
After all the tiles are down, use a floor roller, or even a rolling pin, to press the entire surface and activate the adhesive. Rolling firmly across each tile helps prevent corners from lifting later. If the room is chilly, a hair dryer on low heat can make stubborn tiles more flexible and sticky.
Adding Finishing Touches and Trim
Once the last piece is in, the room is nearly done, but the finishing details are what make it look professionally installed. Remove all your spacers first. Then reinstall your baseboards or add new quarter-round molding to cover the expansion gap along the walls.
Nail the trim into the wall, not into the vinyl. Pinning through a floating floor would prevent it from moving naturally and could lead to buckling. For doorways, use transition strips where the vinyl meets another floor type, such as carpet or tile. These strips protect the edges and create a clean, safe transition.
Finally, give the floor a once-over. Wipe it down with a lightly damp mop, check for any gaps or lifting edges, and put your furniture back. Use felt pads under chair and table legs to prevent scratches, and avoid dragging heavy pieces across the floor. If you’re moving a refrigerator or other heavy appliance, lay down plywood or a sheet of hardboard to protect the surface.
Common Mistakes to Avoid
Even simple projects have pitfalls. Knowing the usual suspects can help you steer clear of them.
- Skipping acclimation: Planks that haven’t adjusted to the room can warp after installation.
- Ignoring the expansion gap: Without room to move, a floating floor can buckle or peak in the middle.
- Poor subfloor prep: Bumps, dust, and gaps show up through thin vinyl and can cause failures.
- Forgetting to stagger seams: Aligned joints look unnatural and weaken the floor.
- Using the wrong cleaner or tools: Harsh chemicals and abrasive pads can damage the wear layer.
- Rushing the cuts: Measure twice, cut once, and use fresh blades, because dull ones tear the material.
- Installing under heavy cabinets: In most cases, floating floors shouldn’t go beneath fixed cabinetry or kitchen islands.
If you do make a mistake, don’t panic. Click-lock planks can usually be unlocked and reinstalled, and that spare 10 percent you bought gives you room to recover.
Keeping Your New Floor Looking Great
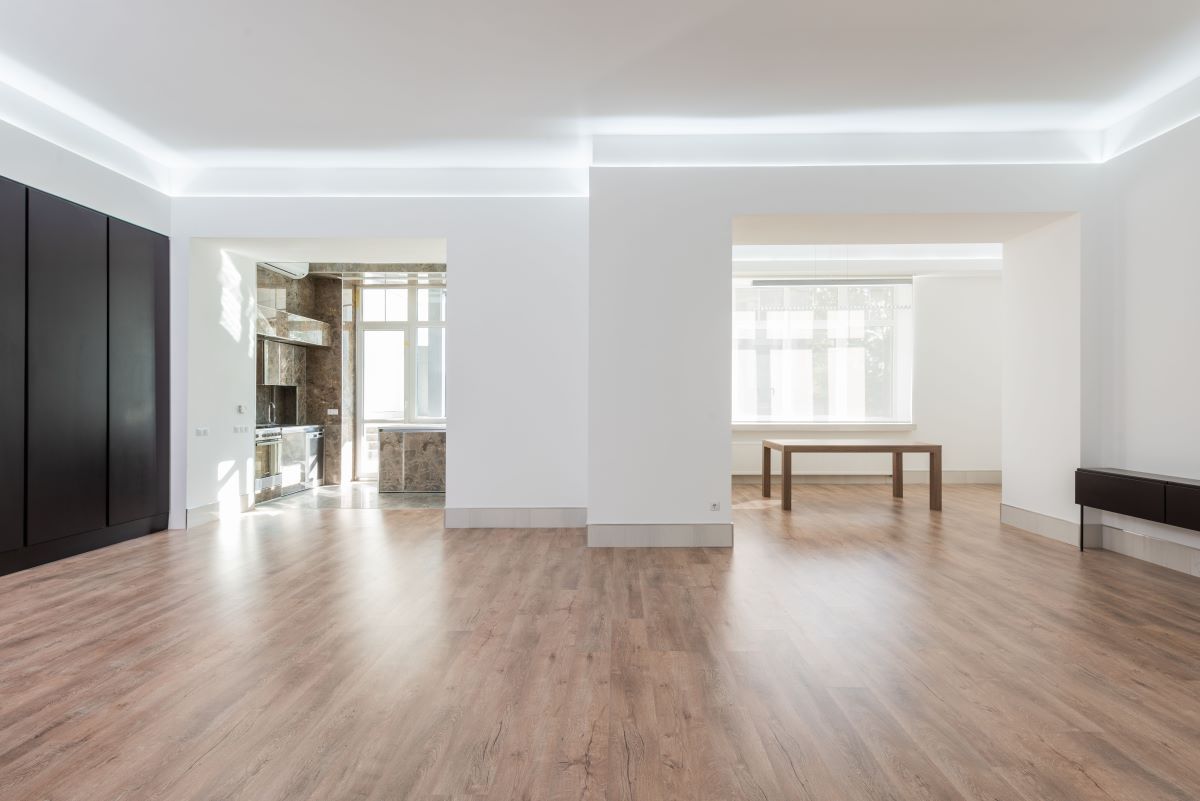
One of the best things about vinyl is how little care it asks for. A simple routine will keep it looking fresh for years. Sweep or vacuum regularly, using a soft-bristle attachment so you don’t scratch the surface. Wipe up spills promptly, even though the material is water-resistant, because standing liquid can seep into seams over time.
For deeper cleaning, use a damp mop with a pH-neutral cleaner made for vinyl. Skip steam mops, wax, and oil-based soaps, since they can dull the finish or loosen adhesives. Place mats at entrances to catch grit, and use a non-staining rug pad if you add area rugs, as some rubber backings can discolor vinyl.
Sunlight can also fade flooring over time, so consider curtains or blinds in rooms with strong afternoon light. These small habits cost almost nothing and help your floor keep its fresh, updated look well into the future.
What Does a DIY Vinyl Flooring Project Cost?
Budget is a big reason people go the DIY route. Material prices vary widely, from around one dollar per square foot for basic peel-and-stick tiles to five dollars or more for premium luxury vinyl plank. For a typical 200-square-foot room, you could spend anywhere from a few hundred to around a thousand dollars on materials, plus a modest amount for tools and supplies.
Professional installation can add several dollars per square foot, so doing it yourself often cuts the total cost substantially. It’s a practical way of protecting and enhancing your property on a budget, since a fresh floor can improve both comfort and curb appeal when it’s time to sell.
To keep expenses in check, here are a few tips:
- Compare prices at several retailers and look for seasonal sales.
- Buy a little extra, but not too much, to avoid waste.
- Borrow or rent specialty tools instead of buying them.
- Skip optional extras if your planks already include attached underlayment.
- Take on one room at a time so you can spread out the spending.
Wrapping It Up
Installing vinyl flooring is one of the most rewarding upgrades you can tackle on your own. With the right prep, a clear plan, and a patient pace, you can turn worn-out floors into a crisp, modern surface that makes the whole room feel new. Take your time with the subfloor, respect the expansion gap, and stagger those seams, and your result will look like the work of a seasoned pro.
Pick a room, choose a style you love, and give it a go. Your future self will be glad you did every time you walk across that beautiful new floor.
 Home Improvement News